Installing Powerline on WSL Windows 10
Install the Powerline status plugin on the Windows Subsystem for Linux (WSL). Get useful information on the shell prompt and provide a new look to your terminal on Windows 10.
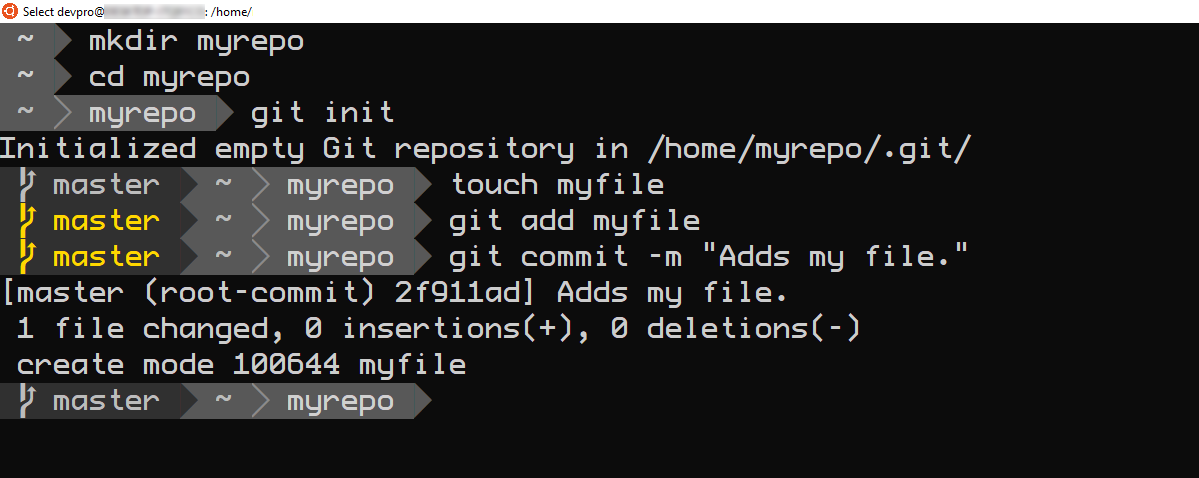
Powerline is a text-based tool that provides useful information in a variety of contexts. The following screenshot shows the Powerline status plugin on the Windows 10 Ubuntu app displaying information about a Git repository:
This guide requires that you install the Ubuntu app on Windows 10. For more information, check WSL on the Ubuntu wiki.
Note: We also have a guide that shows how to install Powerline on Linux.
Install and configure Powerline fonts
To install the Powerline fonts:
- Open a Powershell session as administrator.
- Download and expand the Powerline fonts repository:
powershell -command "& { iwr https://github.com/powerline/fonts/archive/master.zip -OutFile ~\fonts.zip }" Expand-Archive -Path ~\fonts.zip -DestinationPath ~ - Update the execution policy to allow the installation of the fonts:
Set-ExecutionPolicy Bypass - Run the installation script:
~\fonts-master\install.ps1 - Revert the execution policy back the default value:
Set-ExecutionPolicy Default
To configure the fonts:
- Open the Ubuntu app.
- Open the Properties dialog.
- From the Font tab, select one of the Powerline fonts, such as ProFont for Powerline.
- Click OK.
Run the rest of this tutorial from within the Ubuntu app.
Install Powerline
You can install Powerline from the Universe repository of Ubuntu:
- Add the Universe repository:
sudo add-apt-repository universe - Install Powerline
sudo apt install --yes powerline
Configure Bash
To configure Powerline for bash, add the following lines to your $HOME/.bashrc
file:
# Powerline configuration
if [ -f /usr/share/powerline/bindings/bash/powerline.sh ]; then
  powerline-daemon -q
  POWERLINE_BASH_CONTINUATION=1
  POWERLINE_BASH_SELECT=1
  source /usr/share/powerline/bindings/bash/powerline.sh
fi
To apply the changes to your current terminal:
source ~/.bashrc
After running the previous command or restarting your terminal, the Powerline segments appear in your prompt.
Configure Vim
To use Powerline, Vim requires support for Python 3. You can check the features included in your installation with the following command:
vim --version
Look for the python3 entry, which must have a plus sign (+) next to it to
indicate that the feature is available. If your version of vim doesn’t include
support for Python 3, you can install the latest vim package, which at the time
of this writing includes support for Python 3:
sudo apt update
sudo apt install --yes vim
To configure Powerline for Vim, add the following lines to your $HOME/.vimrc
file:
python3 from powerline.vim import setup as powerline_setup
python3 powerline_setup()
python3 del powerline_setup

set laststatus=2
The laststatus setting displays the status bar in Vim and makes Powerline
visible by default.
Configure tmux
To configure Powerline in tmux, add the following to your ~/.tmux.conf file:
set -g default-terminal "screen-256color"
source "/usr/share/powerline/bindings/tmux/powerline.conf"
You must set the correct value for your terminal using the default-terminal
setting. If you don’t configure the correct value for your terminal, you might
run into some issues. For example, Vim inside of tmux doesn’t show colored
Powerline segments. The screen-256color or xterm-256color values work fine
in our environments.
Edit your Powerline configuration
You can customize what segments appear in Powerline, or even the behavior of specific segments. Follow these instructions to customize your Powerline installation:
- Copy the
/usr/share/powerline/config_files/folder to$HOME/.config/powerline:mkdir -p $HOME/.config/powerline cp -R /usr/share/powerline/config_files/* \ $HOME/.config/powerline/ - Edit the files there according to your needs. A good starting point is the
$HOME/.config/powerline/config.jsonfile. - Reload the Powerline daemon:
powerline-daemon --replace
The following example shows how to configure Powerline on the shell to behave as the demo shown in the introduction of this guide:
- To show the vcs segment—which displays information about git repositories—on
the left side of the shell, replace the default theme with the
default_leftonly theme in the
$HOME/.config/powerline/config.jsonfile:··· "shell": { "colorscheme": "default", "theme": "default_leftonly", "local_themes": { "continuation": "continuation", "select": "select" } }, ··· - To make the vcs segment display in a different color when the git repository
is dirty, add the
status_colorsattribute to the vcs segment in the$HOME/.config/powerline/themes/shell/default_leftonly.jsonfile:··· { "function": "powerline.segments.common.vcs.branch", "priority": 40, "args": { "status_colors": true } } ···
You can also create custom Powerline segments that display information tailored to your workflow. For more information, check Creating a custom Powerline segment.
Install Powerline using pip
Powerline is also available in pip, which is a package manager for Python. If you prefer to install Powerline using pip:
~/.local/bin/pip3 install --user powerline-status
The --user flag indicates that pip installs the package following the user
scheme. In other words, the package is installed in a location specific to the
current user.
You might see the following message in the output of the previous command, which doesn’t affect the Powerline installation:
ERROR: launchpadlib 1.10.6 requires testresources, which is not installed.
Make sure to replace /usr/share/powerline with
$HOME/.local/lib/python3.6/site-packages/powerline in the instructions of this
tutorial if you install Powerline using pip.